


The extend position looks good but the flex position is still short of ideal. After peering down inside for a while I found that the #1 actuator was hitting on the servo holder in the flex position causing the rotation to stop short of the end. Here are two pictures showing the flex position with the actuator #1 lower pin in place and with the lower pin pulled out.
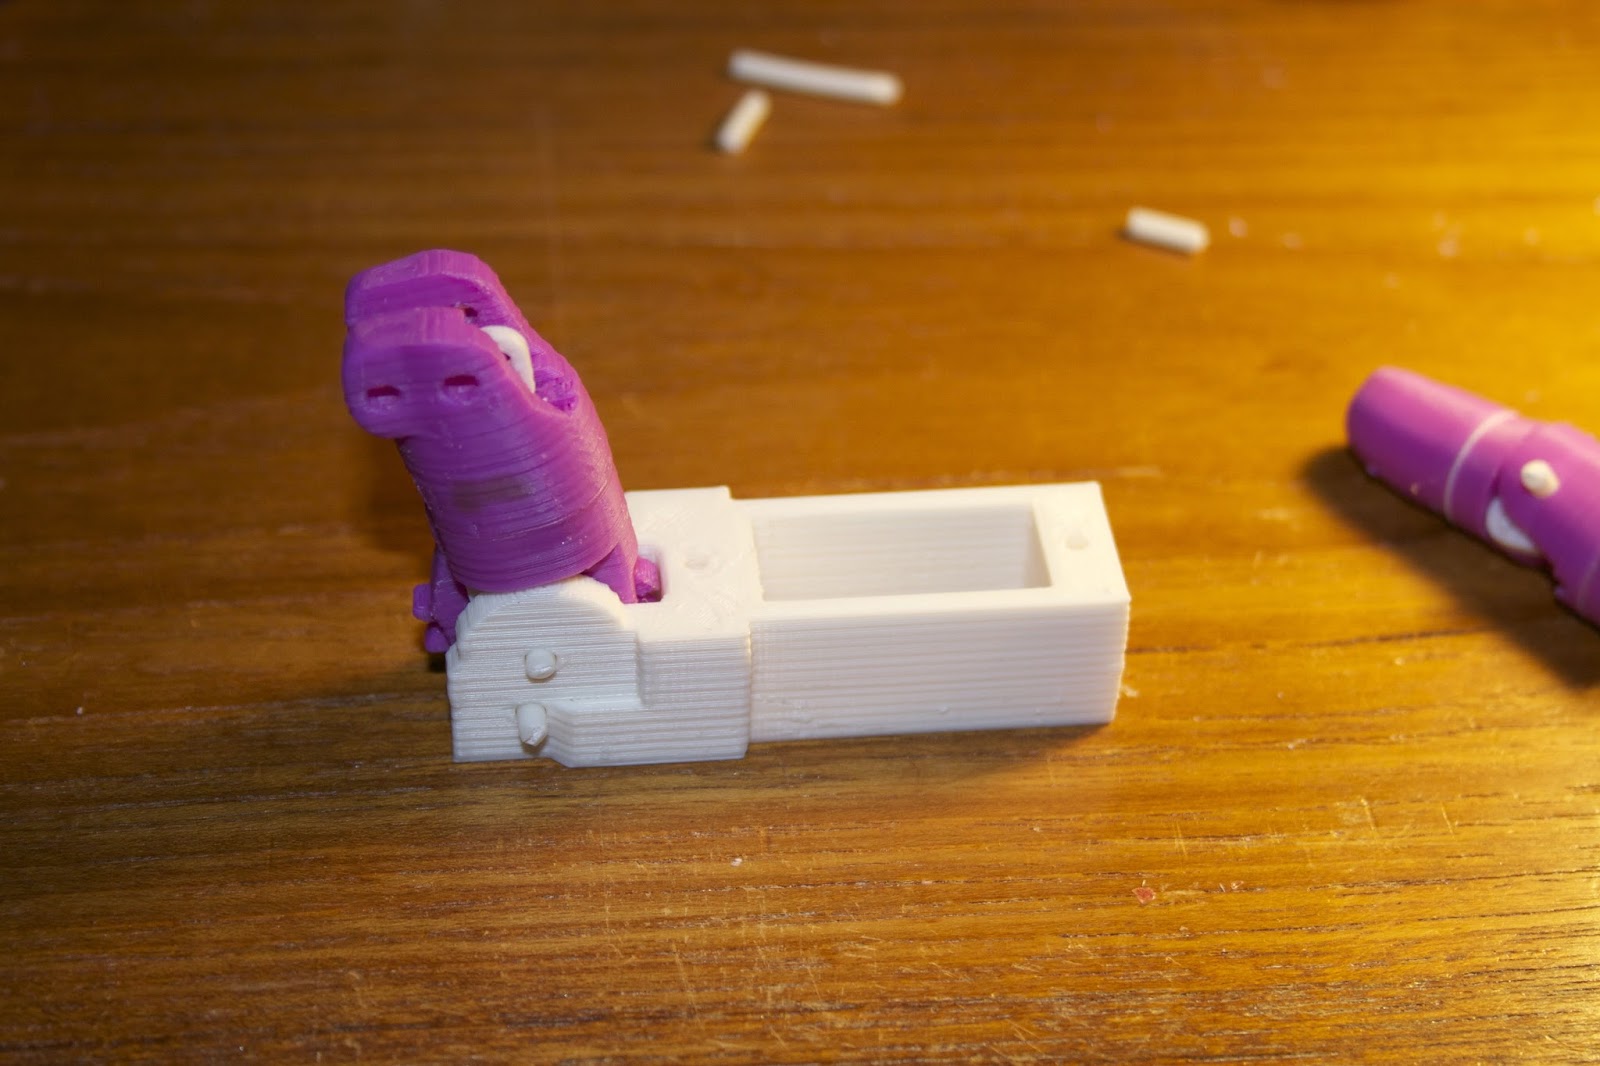

Either some of the servo case has to go or the actuator needs a redo.
Morris
Okay lets work on the servo case then... Tada, Part is ready. I 've sent you a mail with a new ServoHoldersoloV2. That should do the trick.
ReplyDeleteParts are also available on Thingiverse.
Your prints are getting better and better. I can tell you are improving the quality.
May I suggest one thing? You seem to have wobbling in your Z axe. This cause the tiny waves on the surface of your prints. The same thing started to happen on my printer after a year of intensive use. Don't know what you have for printer but it is often due to the coupler between the step motor and the threaded rod. You should find info on the net about that, for sure.
Once this is fixed your prints will look perfect!!
Concerning my design, I'm Getting close to ready...
That will get me time to work on the leg for the Makerfaire of Roma.
Ok. That new servo case is on the printer. I'll see how it works in a little while.
ReplyDeleteI have worked on the Z wobble several times. As first assembled, I had a bent z threaded rod so I replaced both. That change reduced the wobble by quite a bit. I used to have what looked like almost a half mm of wobble in the prints. Now there is just enough to see that there is still wobble but quite close to smooth sides are now coming off the printer. Another time I attempted to change the 5/16 threaded z rods to much thinner but I had problems getting the z movement to work correctly so I went back to the larger rods. I have been researching and it seems that the consensus is that either the top or bottom of the threaded rod should be allowed to wobble thus keeping the center at a fixed distance from the z smooth rod. As an experiment ( before changing out the original threaded ones ) I removed the screws holding down the z steppers and lashed them down with tie-wraps. That actually reduced the wobble some but I was not comfortable with that much of the machine able to wander about. My next test will be to loosen the nuts at the bottom of the z threaded rods enough so that the rods can move around a little at the bottom but not enough to allow things to shift up and down. I figure the coupler up top should keep the up/down stuff out. Anyway, it is an ongoing effort. By the way I have a V2 Prusa with linear bearings.
Man, yes I can see you have been studying the problem. On my printer it was rather simple to solve. The stepper motor was a bit tilted compared to the threaded rod, causing the coupler to force a tiny bit every turn. At first it didn't matter but after a year it started to severe the coupler on on side. Unscrewing the coupler from the rod and giving it half turn resolved the problem. Of course I re-aligned and UN-tilted the stepper as well. It took me a while to understand what was the problem.
DeleteI guess you will find what is the problem. Again, the waves on the purple parts are close to null.
I just received your mail, and from what you say we have it correct. The first phalanger should almost be at 90 degrees compared to the servo holder, but the two next phalanger don't make a 90 degree angle.
I will see when you have posted the picture but I think we got it.
hello morris
ReplyDeletewhat do you think about my prototype?
i make it in boadcard but i think whith 3d is better?
http://www.youtube.com/watch?v=zF0jAffkDRE
http://www.youtube.com/watch?v=TcqeDYX-mqQ
Hi Ambroise,
ReplyDeleteThat is interesting. Are you going to build it using a 3d printer?
Morris
i would like to build it my finger but i haven't 3d printer yet
ReplyDeleteyes i buy one and i receive it in december yes
but i haven't 3d STL
i build it himself